

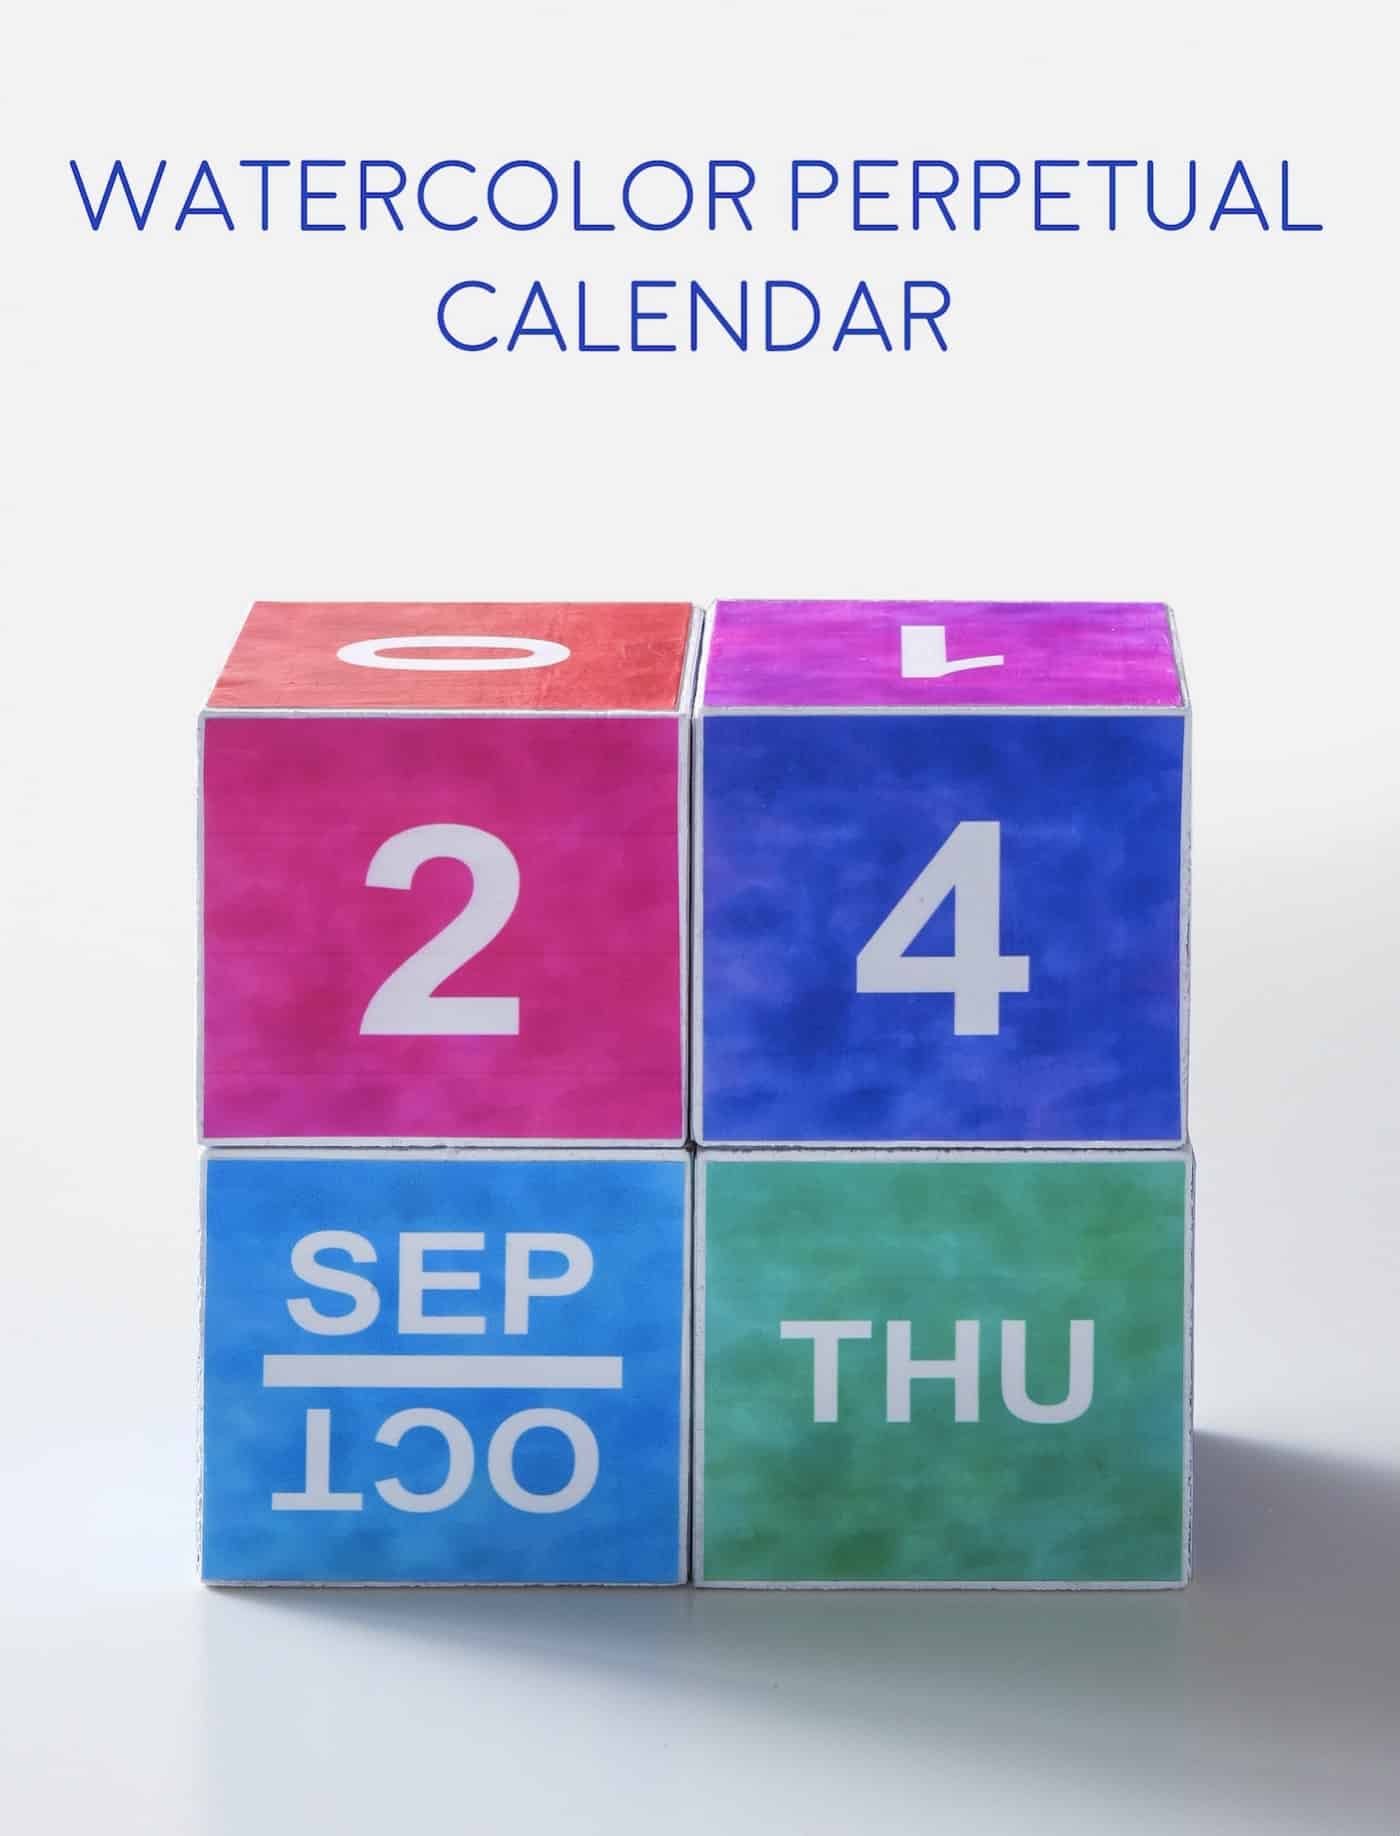
How To Create A Perpetual Calendar
Jump to How-To
Create a DIY perpetual calendar using this free watercolor printable! Its easy to make with Mod Podge and a few other basic supplies.
The other day I looked around my craft studio and realized I didn't even have one of the most basic elements you can have in a workspace – a calendar! I have one at home, but didn't even think about my studio . . . which is funny because I always like to keep track of the day and date, given that they get away from me a lot (I'm forgetful!).
DIY Perpetual Calendar
Instead of purchasing a calendar, I decided it would be easy to make one – and fell in love with the idea of a perpetual calendar that could be used year after year! Make it for yourself or for a handmade gift idea.
Since it's my craft studio I decided I wanted it to be colorful and inspiring, and the watercolor trend I'm seeing everywhere these days is the theme I decided to go with.
Armed with a few supplies and a free printable (that you can get below), I made this simple calendar. It stacks on my desk, looks pretty, and keeps me straight when it comes to the date. Here's how I did it!
Gather These Supplies
- Printer and white cardstock or presentation paper
- Mod Podge Hard Coat
- Calendar download
- Wood blocks, 2" – four blocks
- White spray paint
- Craft knife and mat
- Ruler
- Scissors
- Paintbrush
- Brayer (optional)
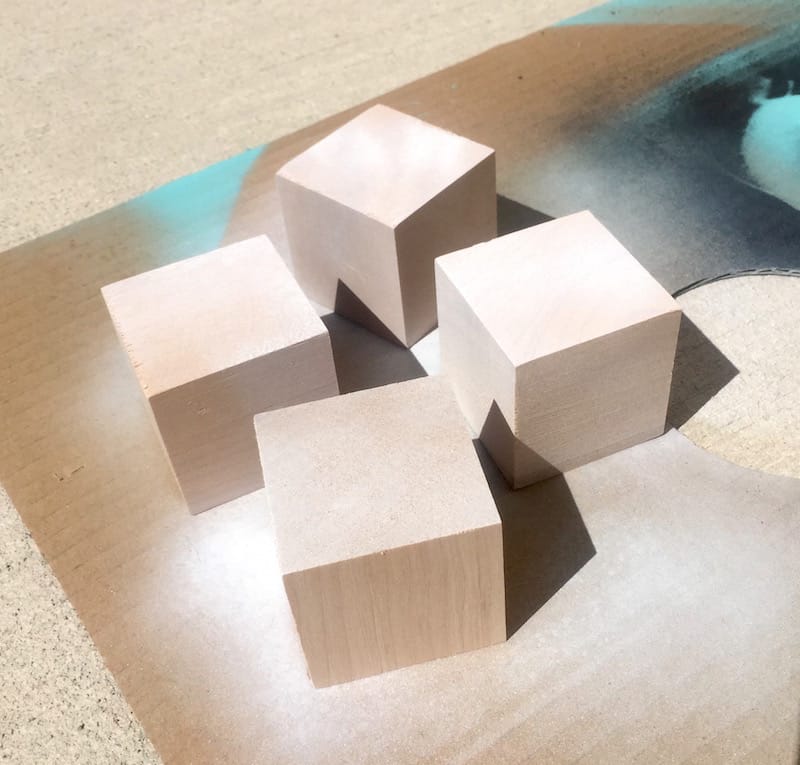
Spray paint your blocks using the white spray paint. Make sure to cover your surface and then read the instructions on the can for proper application.
You'll want to spray paint all six sides of the wood blocks and let them dry. Make you're in a well-ventilated space.
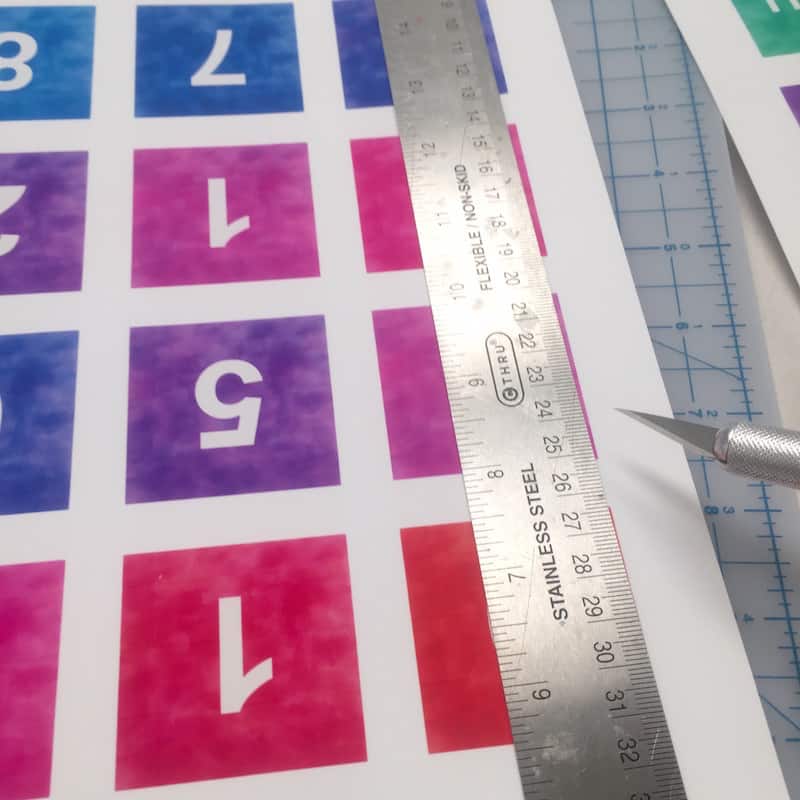
Print out the free printable onto cardstock or presentation paper. Begin by trimming off the outside edge of both pages using your craft knife, mat, and ruler.
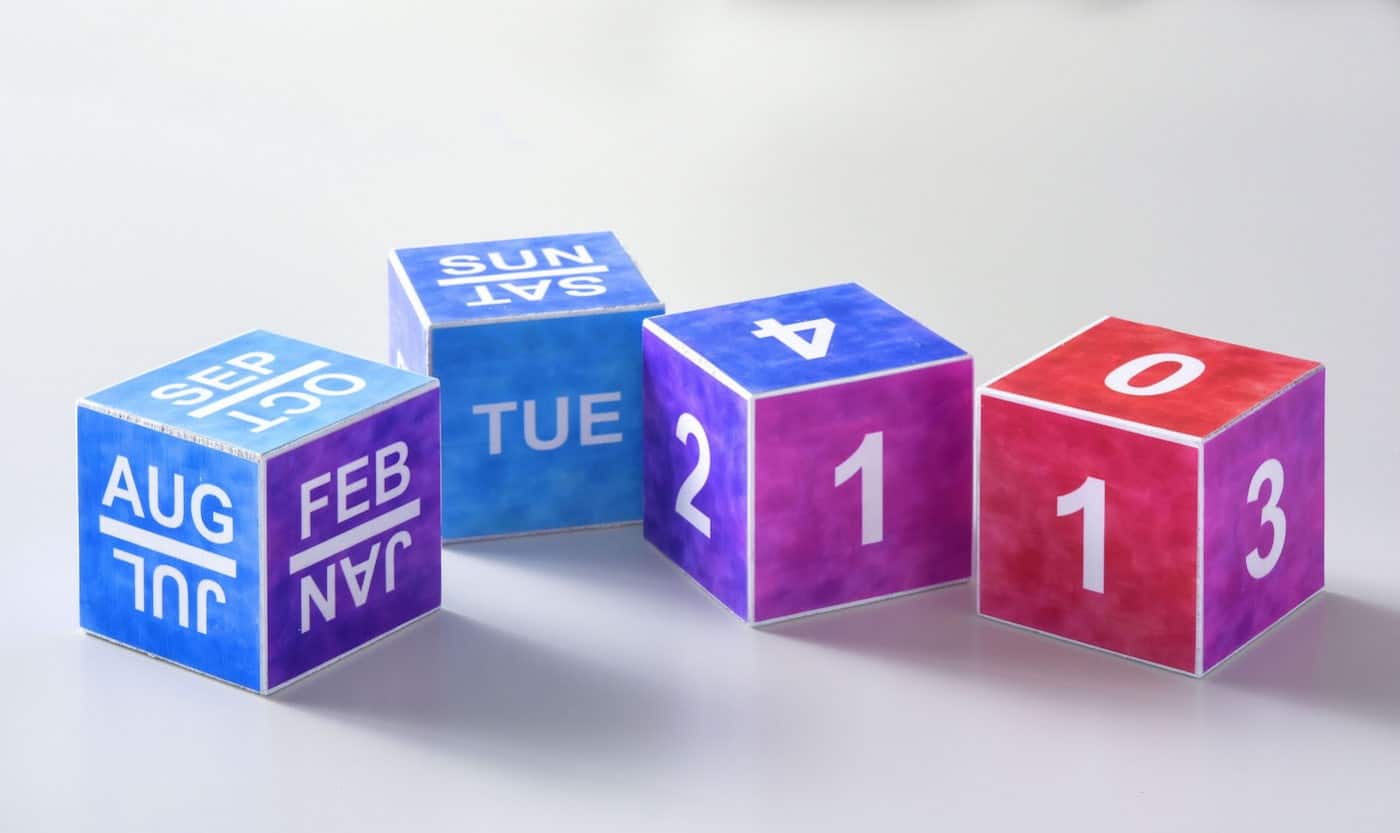
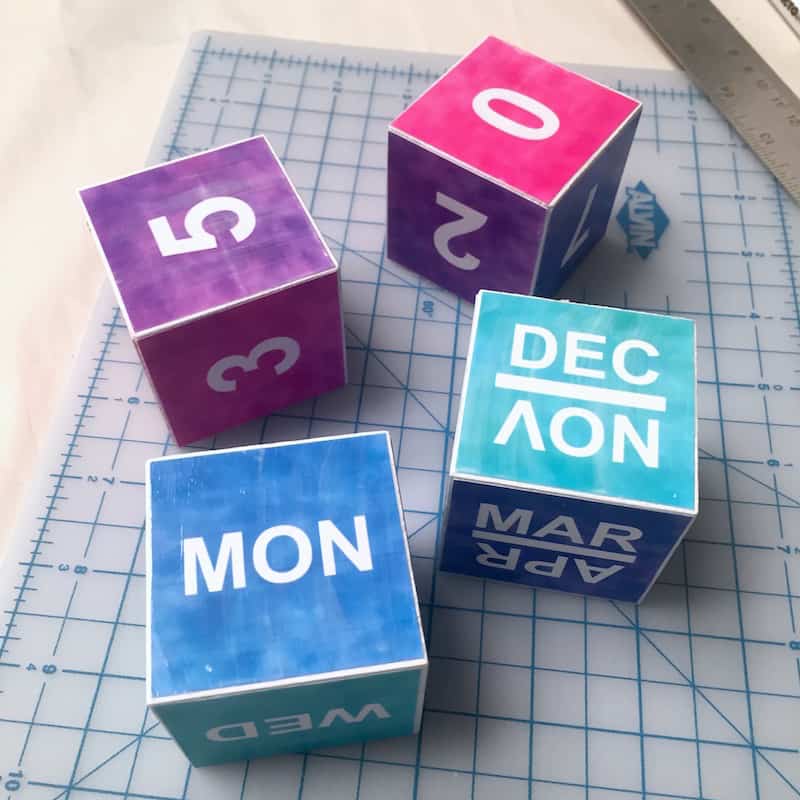
TIP #1: The sheets are organized so that the top six squares go on one block and the bottom six on another. Date block one should have 0, 1, 2, 3, 5, and 6. Date block two should have 0, 1, 2, 4, 7, and 8. You'll use the "6" for your 9. I recommend keeping your squares organized as you cut.
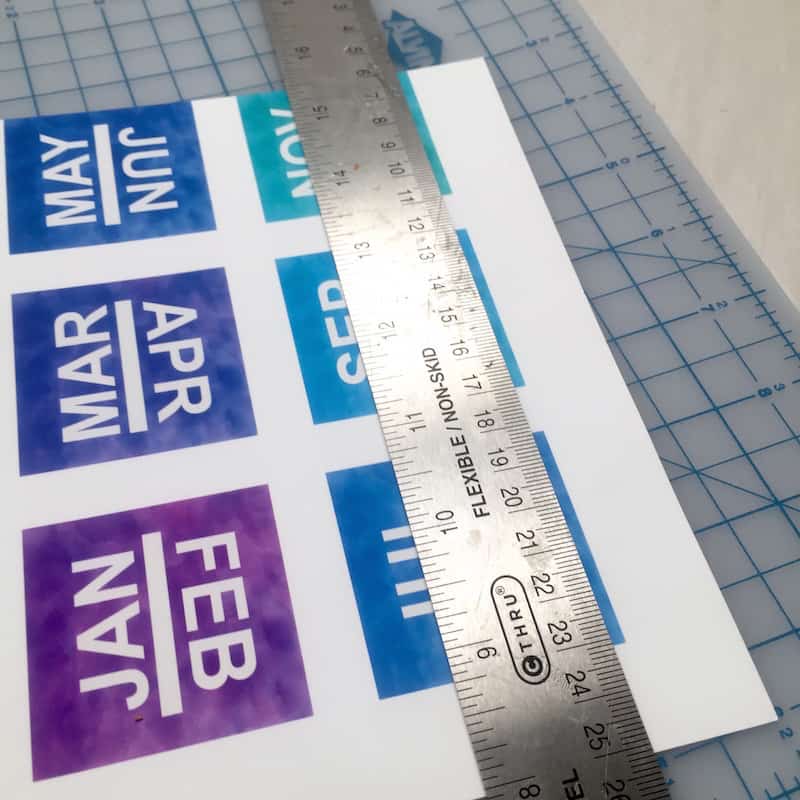
Continue cutting the squares down using your craft knife, mat and ruler.
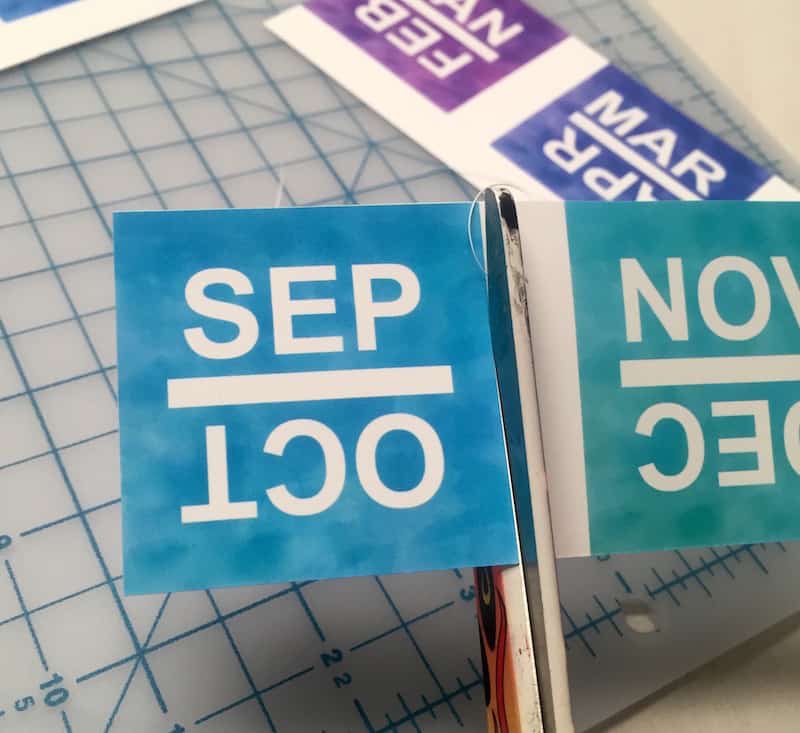
I found that it was easier to cut the squares using my scissors when I got down to the final cuts. But I'll leave that up to you – you can still use your craft knife!

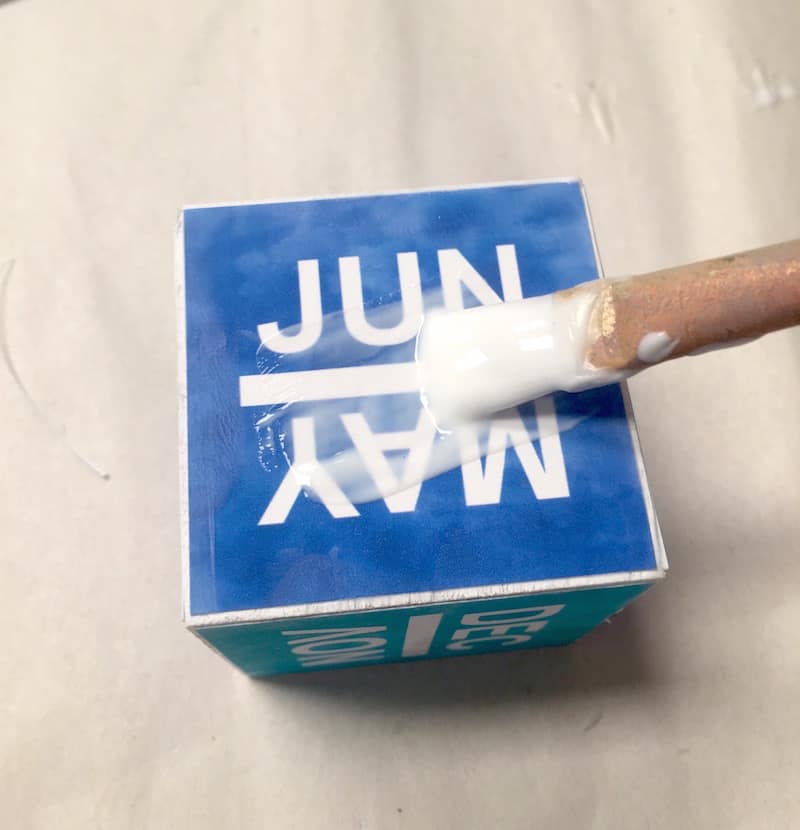
Now you're going to decoupage down the squares. Start with one side on each block. Apply a medium coat of Mod Podge to the top.
Place a square to the top of the block, in the center, and smooth it down.
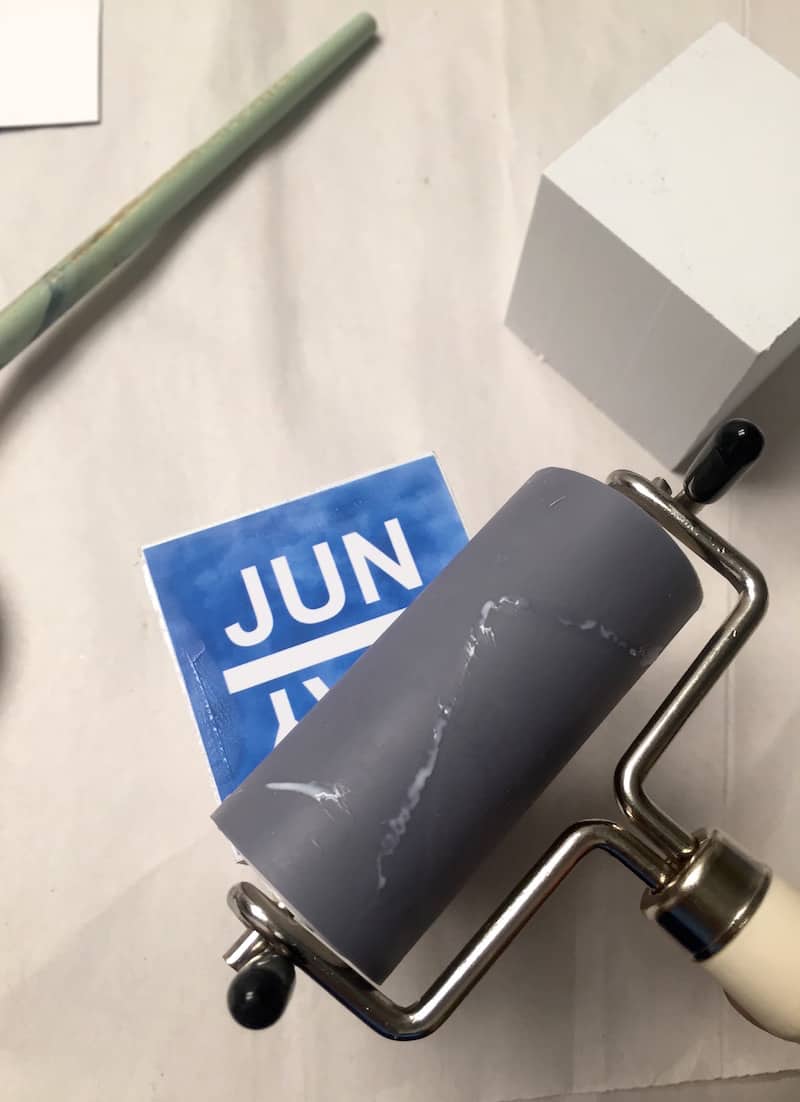
Use your hands to smooth, or you can use a brayer – I love mine! Simply wipe away any excess Mod Podge that squeezes out the side with your brush.
Once you do this on one side, do it on one side for the second, third, and fourth blocks. By the time you are done, the first block should be dry enough for you to apply another square. Repeat until all sides of the blocks are covered! Let them dry.
To finish, seal all of the blocks with a medium coat of Mod Podge.
Let your blocks completely dry before using them.
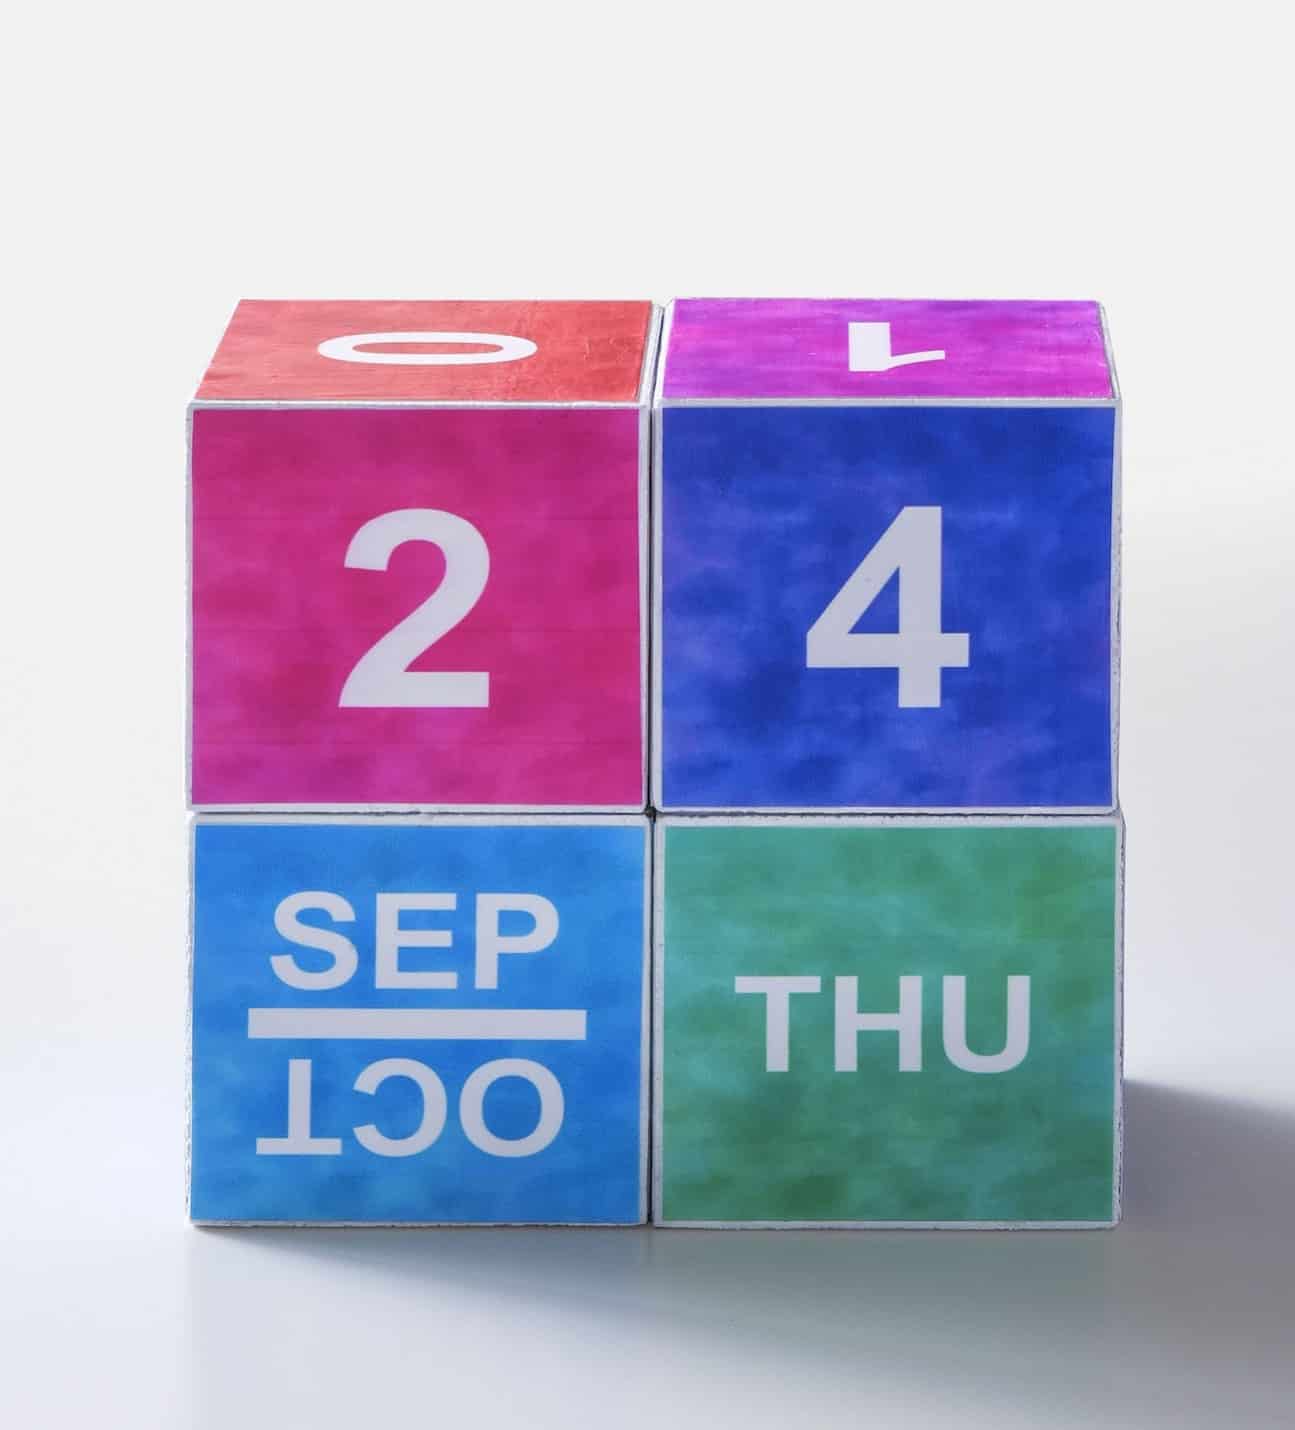
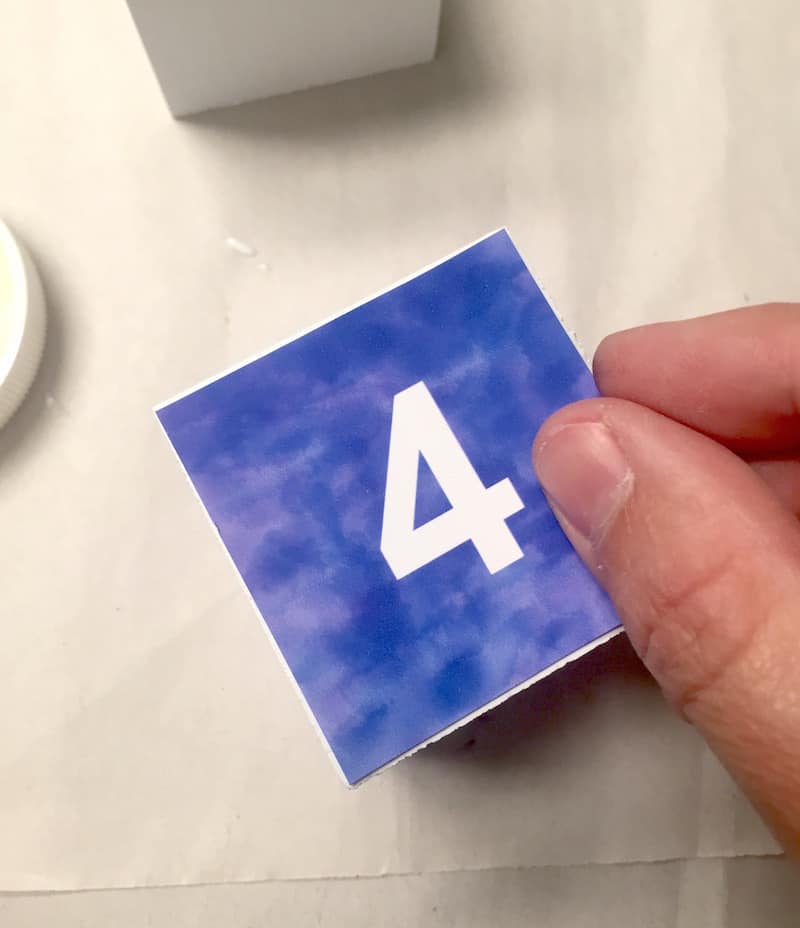
You'll display your perpetual calendar by placing the month block and the day block on the bottom – and stack the date on top.
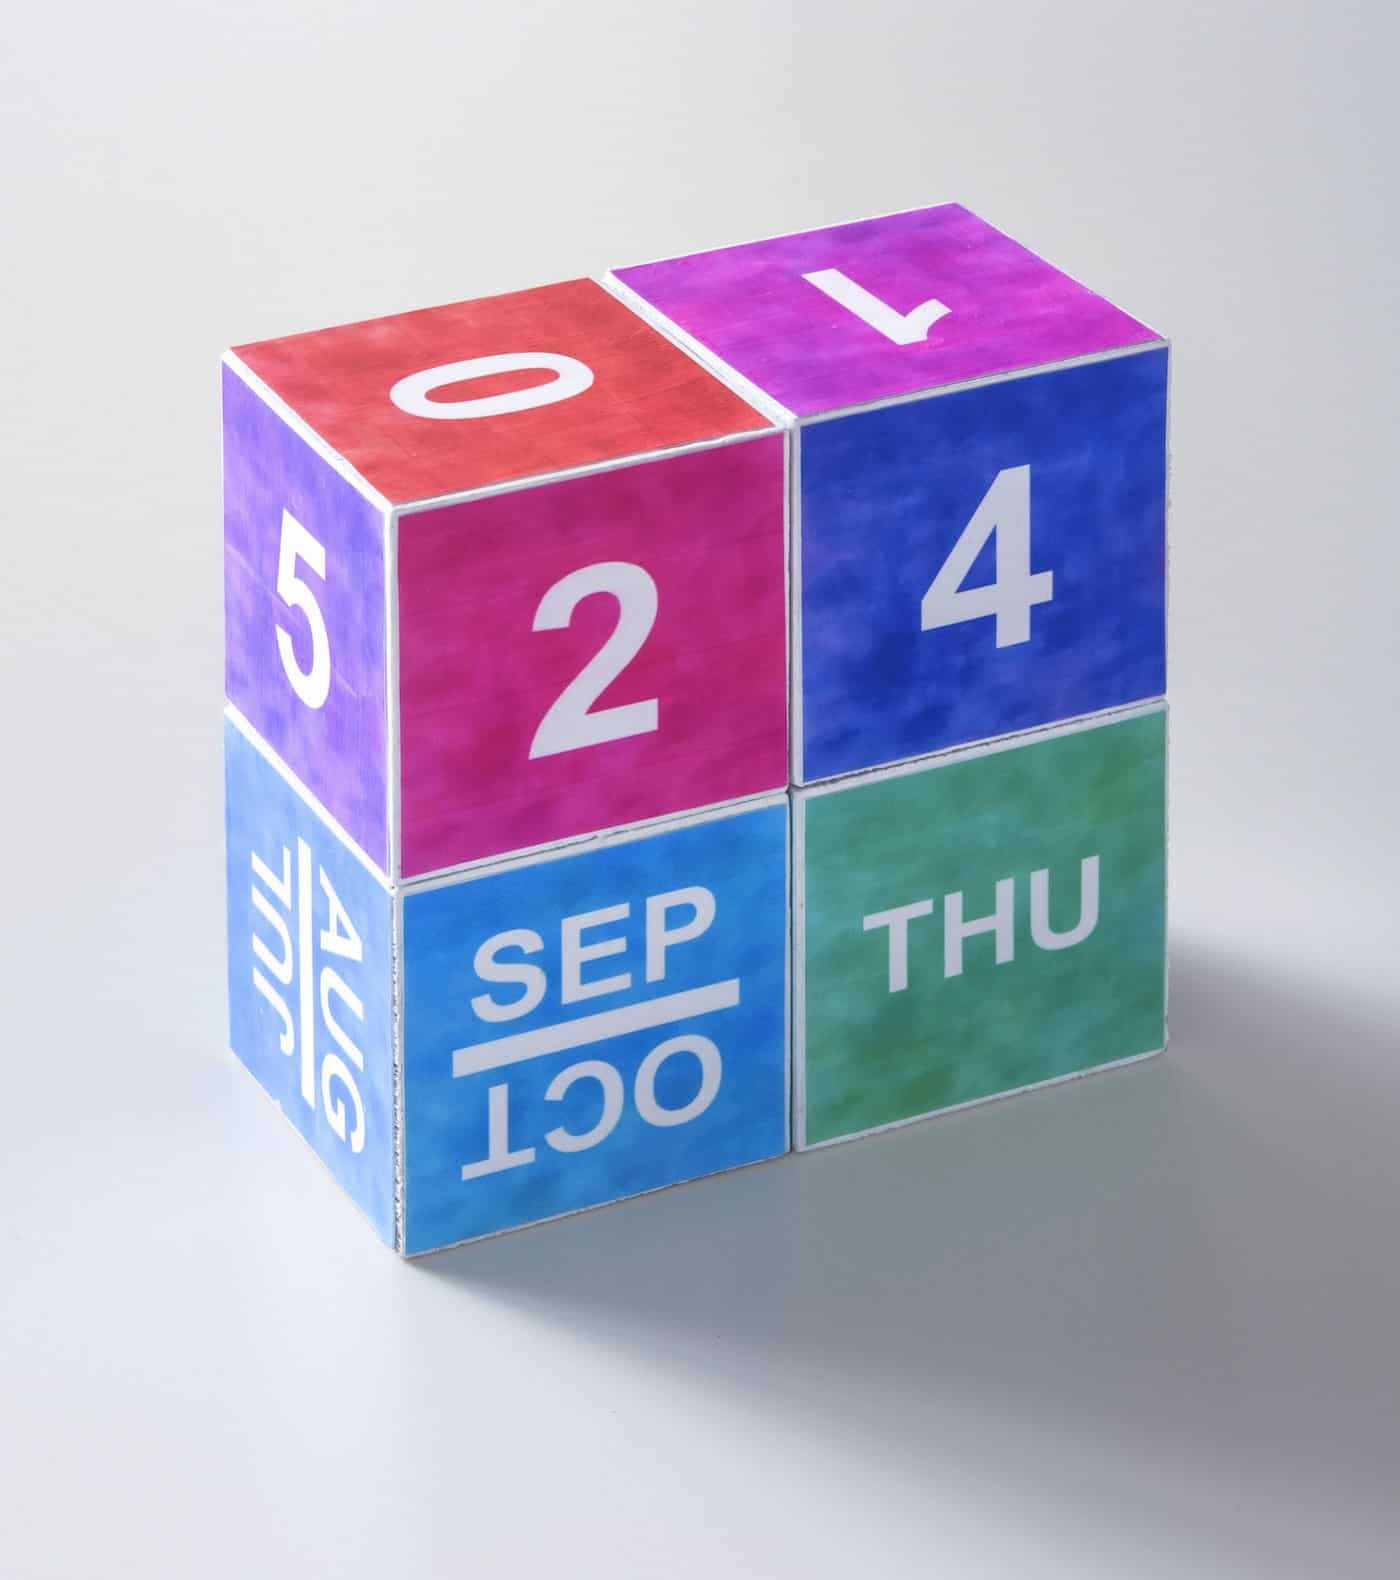
I love how the colors change each day depending on the date – I really enjoy looking at it! Wouldn't this DIY perpetual calendar make a pretty addition to your studio or workspace?
Prep Time 10 minutes
Active Time 50 minutes
Total Time 1 hour
Difficulty Easy
Estimated Cost $8
Materials
- Printer and white cardstock or presentation paper
- Mod Podge Hard Coat
- Calendar download
- Wood blocks, 2" – four blocks
- White spray paint
Tools
- Craft knife and mat
- Ruler
- Scissors
- Paintbrush
- Brayer (optional)
Instructions
- Spray paint your blocks using the white spray paint. Let dry and repeat on all sides.
- Print out the free printable onto cardstock or presentation paper. Begin by trimming off the outside edge of both pages using your craft knife, mat, and ruler.
- Continue cutting the squares down using your craft knife, mat and ruler.
- Now you're going to decoupage down the squares. Start with one side on each block. Apply a medium coat of Mod Podge to the top.
- Place a square to the top of the block, in the center, and smooth it down.
- Use your hands to smooth, or you can use a brayer! Simply wipe away any excess Mod Podge that squeezes out the side with your brush.
- Once you do this on one side, do it on one side for the second, third, and fourth blocks. By the time you are done, the first block should be dry enough for you to apply another square. Repeat until all sides of the blocks are covered! Let them dry.
- To finish, seal all of the blocks with a medium coat of Mod Podge. Let dry before stacking.
Notes
The sheets are organized so that the top six squares go on one block and the bottom six on another. Date block one should have 0, 1, 2, 3, 5, and 6. Date block two should have 0, 1, 2, 4, 7, and 8. You'll use the "6" for your 9. I recommend keeping your squares organized as you cut.
If you like this calendar, you might also like some of my other posts with free printables:
- Sherlock Gnomes Memory Game
- Easy Autumn Gifts for Neighbors
- Photo Transfer Pillow
- DIY Wine Charms
How To Create A Perpetual Calendar
Source: https://modpodgerocksblog.com/diy-perpetual-calendar/
Posted by: edwardswiging.blogspot.com
0 Response to "How To Create A Perpetual Calendar"
Post a Comment